Mon-Fri 7-5 pm (EST)

Mastering Epoxy Re-coating: Steps and Tips for Success
Mastering Epoxy Re-coating: Steps and Tips for Success
Whether you're creating stunning epoxy flake floors, mesmerizing metallic epoxy surfaces, or durable epoxy countertops, achieving a seamless finish requires attention to detail. In this guide, we'll take you through the essential steps and provide valuable tips to ensure your epoxy projects shine.
What Are Re-coat Windows?
They define the optimal period during which you can apply subsequent epoxy layers to achieve the best results. These windows are influenced by various factors, with temperature being a key player. Understanding and respecting re-coat windows is fundamental to success.
Different Types of Epoxy and Re-coat Windows
At Epoxy Warehouse, we offer a range of epoxy materials, each tailored to specific applications. From epoxy flake floors to metallic epoxy masterpieces and resilient countertops, every epoxy type has its unique re-coat window parameters. Consult our product data sheets for precise details.
Essential Steps for Re-coating Epoxy Floors
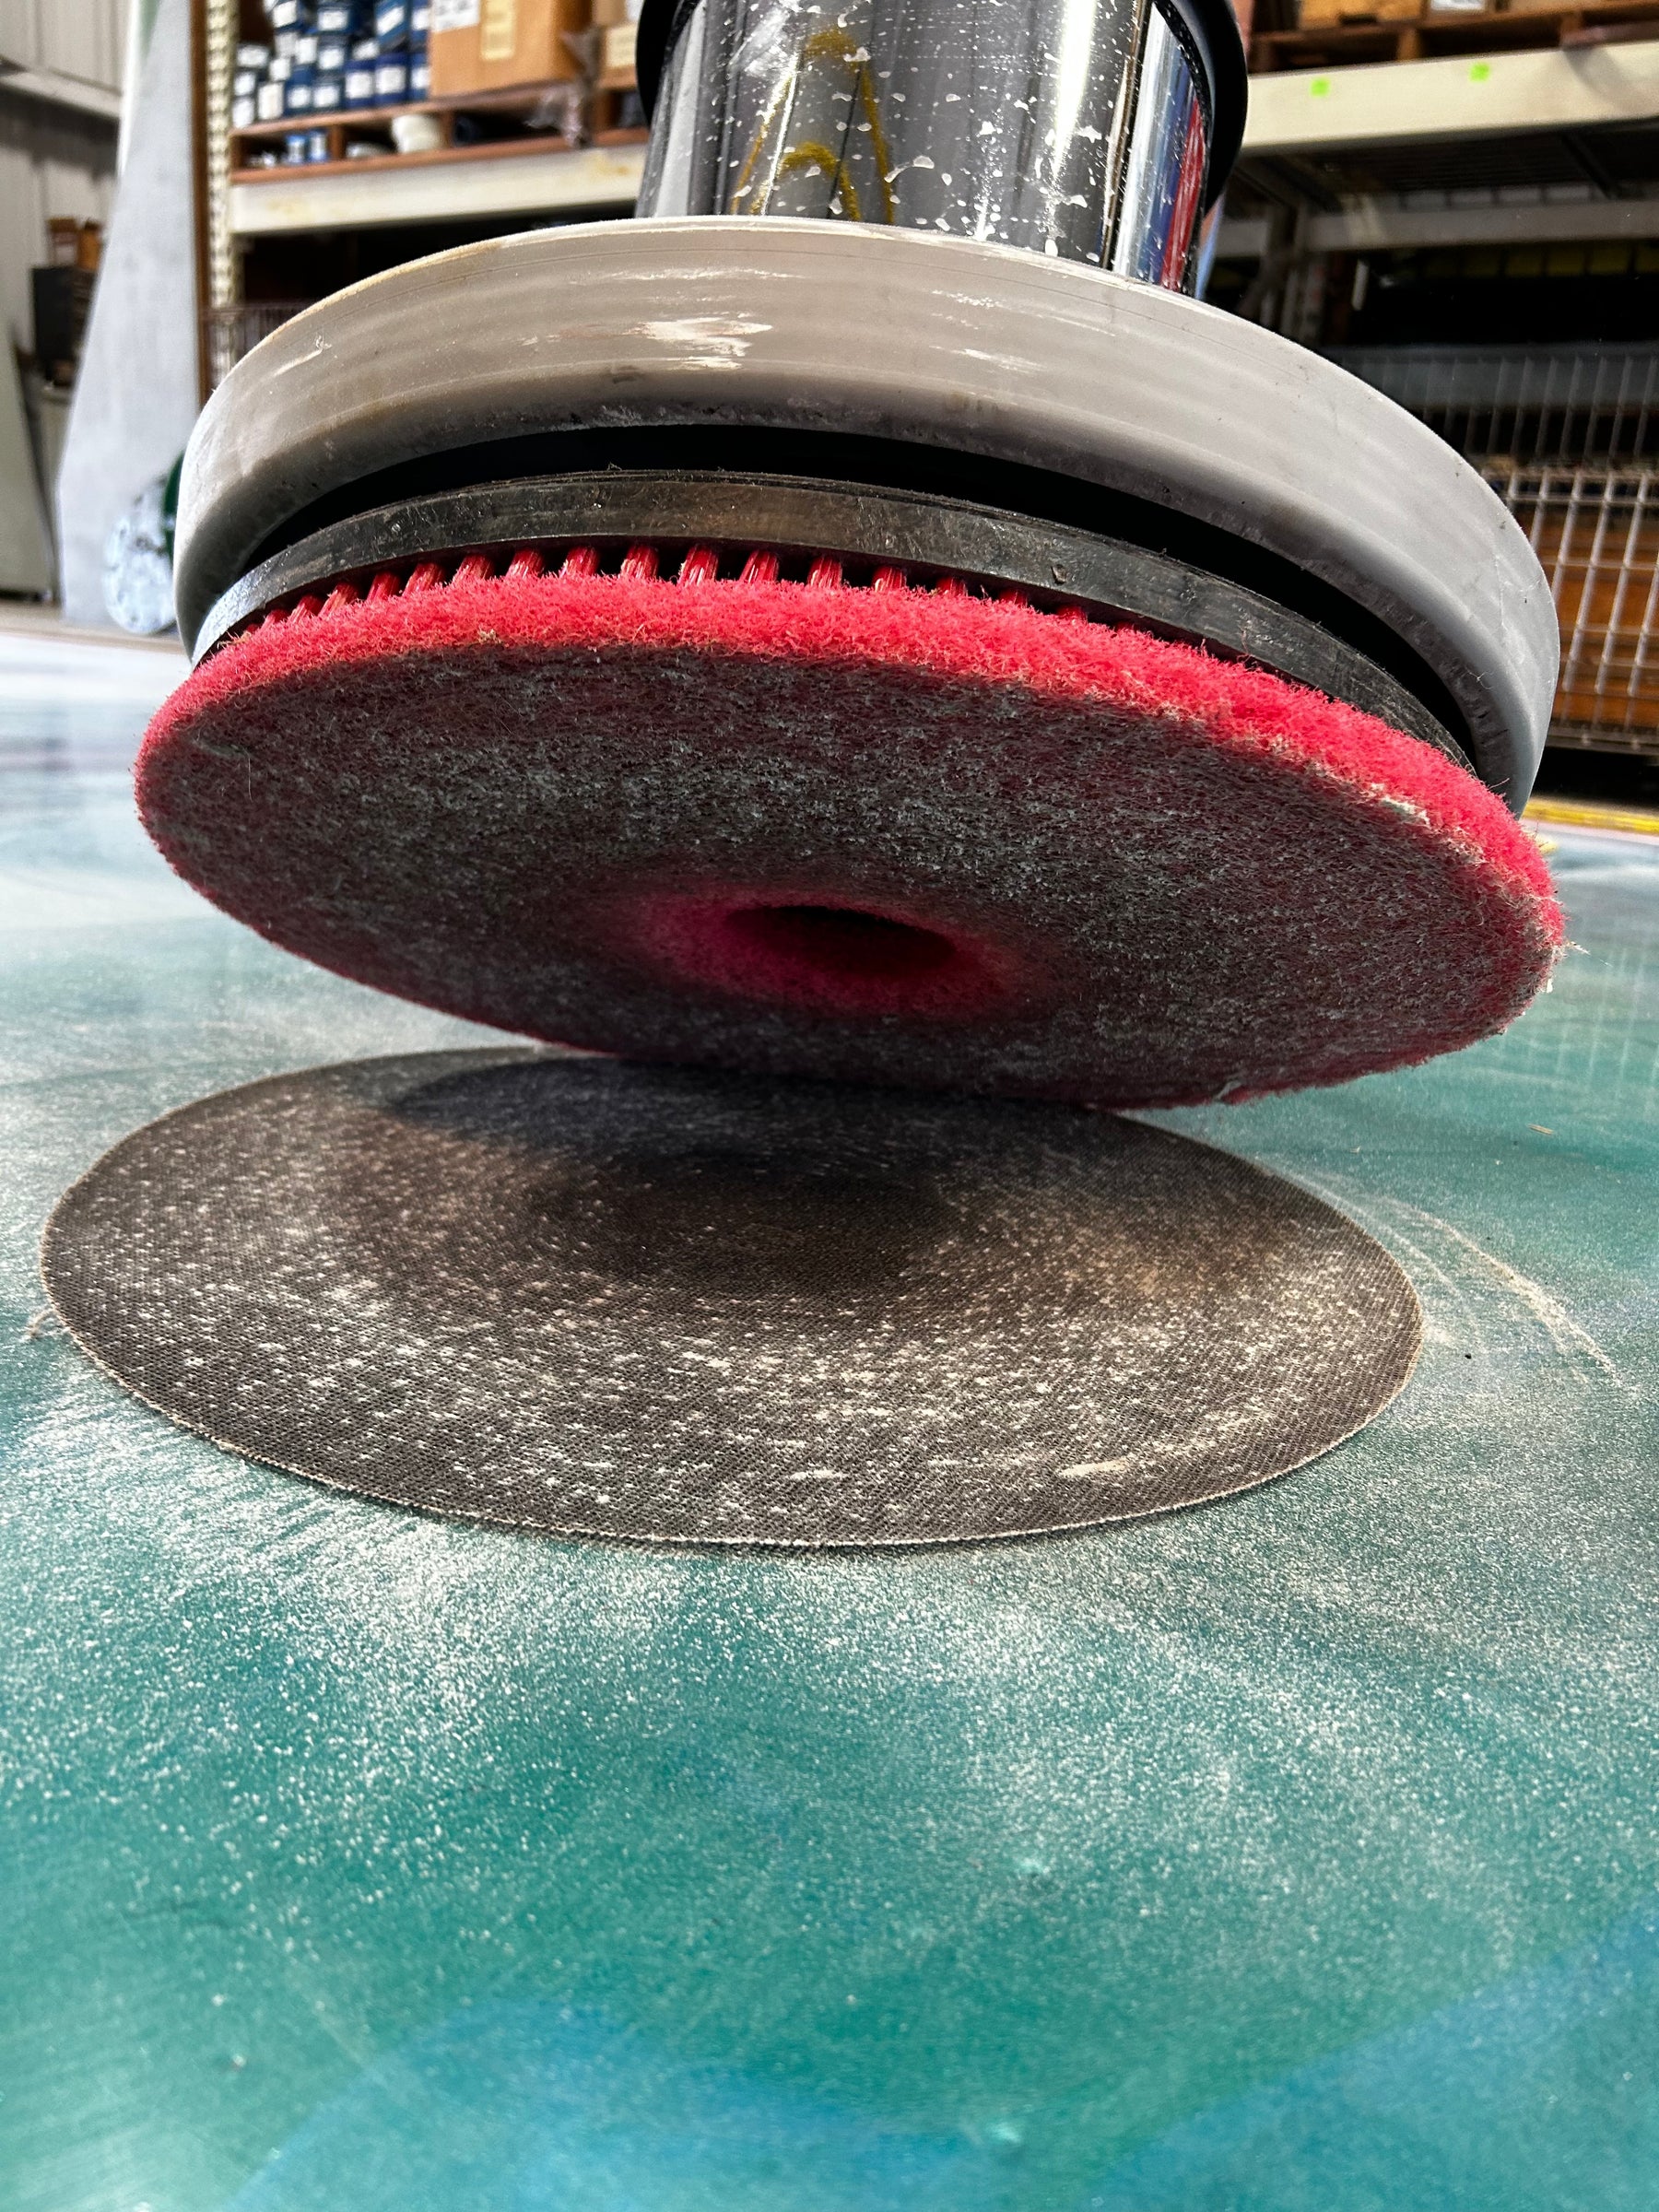
Step 1: Lightly Abrade the Surface
Proper surface preparation is the cornerstone of a flawless epoxy finish. Begin by using a sander equipped with a sanding pad. For epoxy surfaces, opt for a 60-80 grit sanding pad, while for urethane surfaces, choose a finer 100-150 grit pad. The objective here is to lightly abrade the surface, creating faint scratch marks. These marks serve as the canvas for the next epoxy or urethane layer to adhere to securely. 

This surface preparation step is vital, as it ensures proper adhesion and promotes a smooth, even finish. It provides the ideal texture for the subsequent layer to bond effectively, eliminating the risk of delamination and other issues that can compromise your epoxy project's quality.
Step 2: Clean the Surface
Remove dust and debris generated during abrasion by vacuuming the floor followed by using a microfiber pad and acetone. This process not only cleans but also softens the epoxy slightly, preparing it for the next coat.
Step 3: Mix Epoxy Correctly
Precisely measure epoxy resin and hardener, following the manufacturer's recommended ratios. Utilize a ribbon paddle mixer attached to an electric drill for thorough but gentle mixing. This meticulous approach guarantees a bubble-free epoxy mixture and ensures a strong chemical bond between Part A and Part B.
Step 4: Apply Epoxy within the Re-coat Window
Once mixed, transfer the epoxy onto the floor immediately. Leaving it in the pail can lead to rapid curing, generating excessive heat and potential safety risks. Spread it out evenly and efficiently to achieve the desired thickness.
Section 4: Tips for Optimal Re-coating
- Monitor ambient and slab temperatures using specialized tools.
- Set timers or alarms to track re-coat windows accurately.
- Adhere to safety precautions and wear appropriate protective gear.
- Plan for contingencies and maintain a clean workspace.
- Seek professional advice when needed.
Epoxy re-coating may seem like a complex endeavor, but with the right knowledge and a commitment to excellence, you can consistently achieve stunning results. Remember, practice and continuous learning are keys to mastering the art of epoxy re-coating.
Ready to embark on your next epoxy project? Explore our diverse range of epoxy materials at Epoxy Warehouse and bring your creative visions to life with confidence.
